How to Recover Important Document from iPhone 12 Directly
It is indeed convenient and practical to transfer and save documents in iPhone 12(Pro/Pro Max) via the network, which allows you to manage your information anytime. If you carelessly delete the important documents that your friend or colleague have sent to share with you, do you know how to recover them effectively? The following guidance will show you how to recover your deleted document.
If you have synced and backed up iPhone 12(Pro/Pro Max) with iTunes before you deleted them, you can recover them by exporting iTunes backup. However, how to recover them with no backups? iPhone Data Recovery provides you with the other way: recover deleted data by scanning your device directly, which can assist you to recover documents, text messages, call logs, apps data, note etc. This iOS data recovery application enables you to recover most of data in various scenarios. Even if your device is broken or damaged, you still can try to scan and find the lost data from iOS device.Key Features About iPhone Data Recovery Software.
- Restore deleted data from backup files or from iPhone directly.- Back up iPhone data to computer for free.
- Fix iOS system and get it back to normal.- Preview data before recovery and selectively restore you need.
Steps to Restore Documents from iPhone without Backup
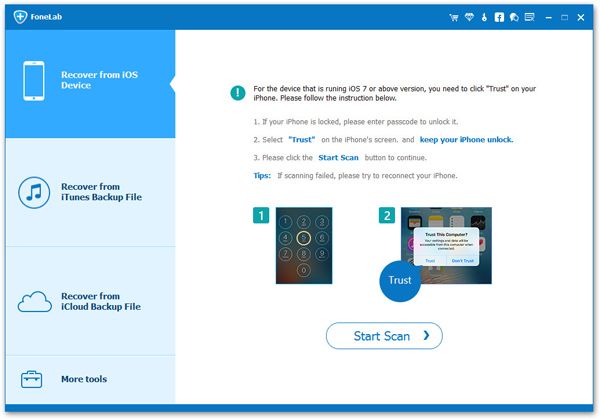
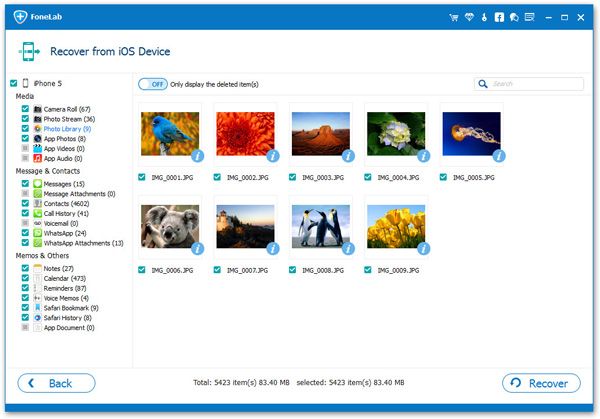
Step 1. Run the iPhone data recovery program on computer after you install it, then the software will enter the home screen, you will see some options to choose, tap "iPhone Data Recovery", then the software will go to next screen and select the default mode "Recover from iOS Device" mode, it will require you to connect iPhone. Now we need to install iTunes on same PC and link iPhone 12(Pro/Pro Max) to the software with a usb cable, the software will detect the phone immediately, you can tap "Start Scan" button to scan iPhone internal memory.


