How to Transfer Pictures from iPad Pro/Air/Mini to computer
You may lose important pictures/photos or old files from iPad if you don't have any backup. However, transfer data from iPad to computer is a great way for you to make your data safety. How to transfer iPad pictures to computer with ease?
iOS Data Transfer is a great software for transferring data from iPad/iPhone/iPod and computer. And it also supports you transfer data from computer to iPad/iPhone/iPod selectively. The steps of the program are easy to operate, even without prior computer knowledge. If you want to transfer pictures from iPad Pro, Air 2/1, Mini 4/3 to computer, iOS Data Transfer program will be your best choice. You can transfer pictures from iPhone/iPad/iPod to an other iPhone/iPad/iPod as well. No only pictures, it also supports user transfer videos, messages, Playlists, TV shows, Voice Memo, contacts, and more.
It's easy to use, 100% Safe & Security, clear and simple interface for iPhone users, compatible with iPad Pro, iPad Air 2/1, iPad Mini 4/3/2/1, iPhone X, iPhone 8/8 Plus, iPhone 7/7 Plus, iPhone 6s/6s Plus/6/6 Plus, iPhone SE, iPhone 5s/5, iPhone 4s/4 and iPod.Two versions( Windows and Mac) of iOS Data Transfer are available, and the following steps will take the Windows version as an example. If you want to transfer iPad pictures to a Mac computer, please download the Mac version and transfer them in the similar steps.
How to Sync Photos from iPad to Computer Without iTunes
Step 1. Connect iPad to computer
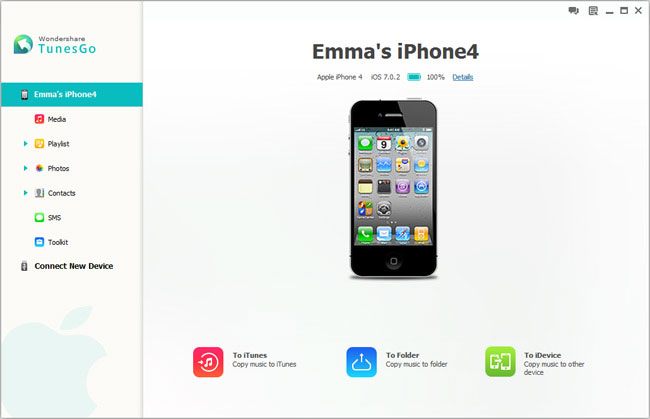
Install and launch the iPad Data Transfer program on your computer, connect your iPad Pro/mini/Air or other models to the computer via a USB cable. The program will detect your device automatically and shown the primary window as below.

Step 2. Sync iPad photos to PC
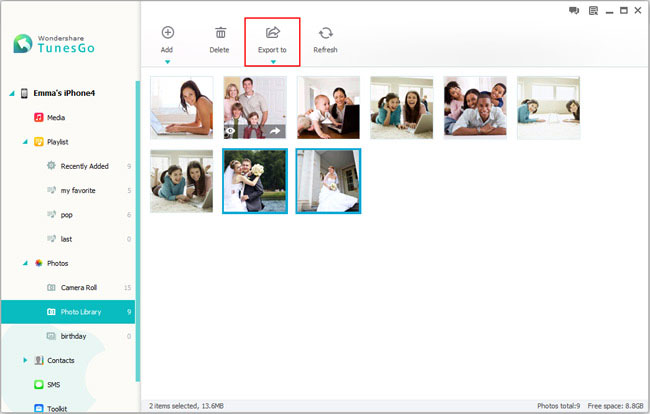
Now you can tap "Photos" option in the left directory, then you can see "Camera Roll", "Photo Library" or other category, choose one and click it, you will see all related photos display in the right interface, you can mark all pictures you want to transfer and click "Export to" -> "Export to PC" button. Then a pop-up will prompt you to choose a destination folder where the file will be exported on your computer and start transfer. Wait for a while, it will finish the job.


