How to Transfer Photos from Computer to iPad
People would like to bring their iPads wherever their go. Perhaps, they can share wonderful pictures with their friends in time. When it comes to a question, how to transfer pictures from computer to iPad? Is it an easy method to solve this problem?
I have to say that iPad Data Transfer is unusually good. The process is simple and the result is great. It is not only working on iPad1/2 but also effects on iPad mini iPad air. iPad Data Transfer will be most suitable for you to manage photos on your between iPad and computers.
iPad Data Transfer, a excellent data transfer tool, help you manage your data between iOS devices and computer. This tutorial will tell you how to copy photos from computer to iPad effortlessly. It provides a advance way to manage pictures on your iPad.Now, download the free and trial version of iPad Data Transfer on your computer to have a try!
How to Transfer Photos from Computer to iPad
Step 1. Run the software and connect your iPad to computer
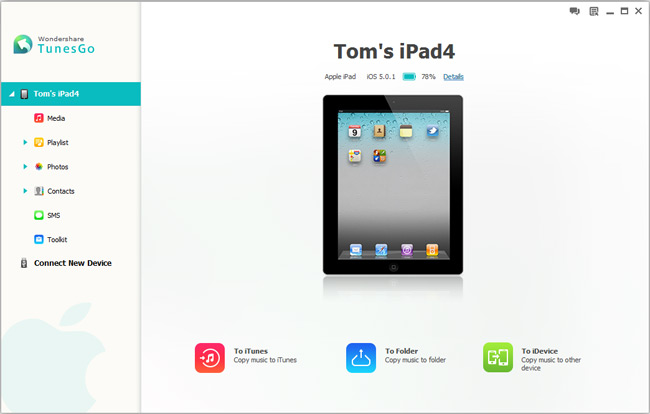
Run the iPad Data Transfer software after downloading and installing it on the computer. Then connect your iPad to the same computer with a USB cable. After connected well, the program will detect your iPad's model and show you the main window as below.

Step 2. Begin to Add photos to iPad
To bring up the photo window, we should tap "Photos" in the left column. When you see the window as below, click the triangle under "Add" and then press "Add Folder". After that, a file browser window will pop up. Now, you just need to select and mark the photo folder which you wanted to copy. If you open the Photo Library tab under Photos column, you can import some specific photos rather than the whole folder, and it depends on your needing. In another way, you can transfer photos by dragging and dropping photos or folders as well.

Note: Keep your iPad connected to the computer will during the whole process.
comments powered by Disqus


