How to Transfer Photos from iPhone to iPhone
Some of us may have a need to transfer their data between different iDevices. Well, when you get a new iPhone 5s or want to share your photos with friends, you may wondering how to transfer photos from iPhone to a new iPhone in an effective and simple way.
As to this problem, you may want to finish it via iTunes. However, you should know that if you use iTunes to transfer your photos between iPhones, it will erase all the photos except the camera roll in the target iPhone. To avoid data losing, iPhone to iPhone Transfer tool can help you achieve this task. Here, you can get the help of iPhone Transfer, one of the best photo transfers for iPhone. It enables you to copy photos between two iPhone without deleting or losing any data. Moreover, it doesn't require you to have the same albums on computer. iPhone Transfer is well supports iPhone 5s, iPhone 5c, iPhone 5, iPhone 4S, iPhone 4 and iPhone 3GS runs on iOS 7/ 6/ 5.
Now, download the trial free version of iPhone Transfer on computer and follow the simple guide below.Step 1. Run the iPhone Transfer
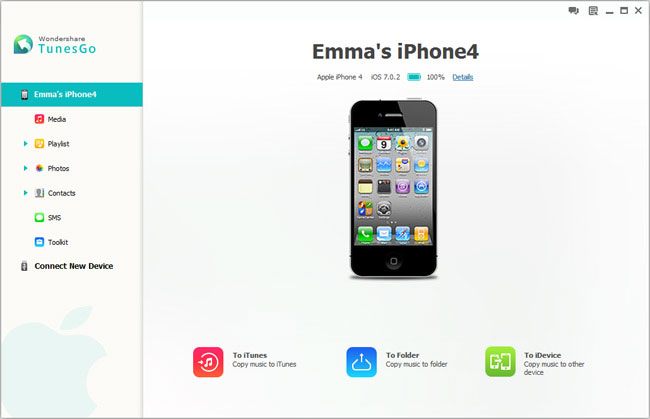
Run the iPhone Transfer program after installing it on your computer. Then Connect both of the iDevices to the same computer via two USB cables. After connected, you will get the main window as follow.

Step 2. Transfer photos from iPhone to iPhone
After you clicking the "Photos" on the left column, all the albums will be listed and shown on the right side. Now, mark the albums you want to transfer, or open the albums which have the photos you need and select them. After that, you should click "Export to" - "Export to your iPhone". The iPhone Transfer program will transfer photos from iPhone to another iPhone in minutes. Please keep both of the two iPhone connected to computer well during the transferring process.


