How to Transfer Data from iPad Pro/Air/Mini to Computer
iPad users need to transfer their iPad data to computer in many cases, such as sharing wonderful movies/TV shows with friends on computer, transferring precious camera photos to computer for backup, enjoying iPad music on computer, or transfer data to computer to free up more memory space on iPad, and etc.
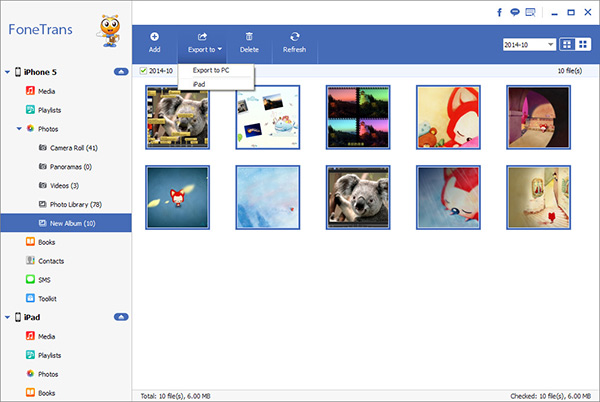
This tutorial will show you how to transfer/back up iPad data to computer in a simple way, such as camera Photos/video shots, voice memo, music, and etc. step by step. iOS Data Transfer is a professional iPhone/iPad/iPod data transfer for iDevice users to transfer and manage their important data, which supports transfer various data like videos, photos, music, contacts and voice memos between iPad/iPhone/iPod and computer. Both Wins version and Mac version are available, you should choose the suitable version to download on your computer.Now, read on the detailed steps to transfer iPad data to computer. After reading it, you could transfer your data from iPad to Mac effortlessly. The steps to transfer data from iPhone and iPod is similar, let’s follow it to have a try!
How to Sync Data from iPad to Computer
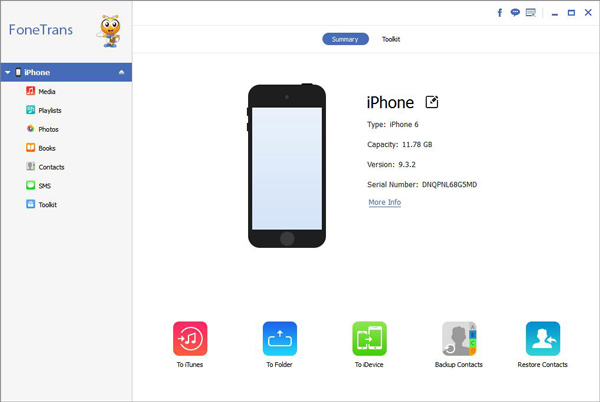
Step 1. Launch the iOS transfer program on your computer and connect your iPhone to it via USB cable. After the software detect your phone, you will see all the iPhone information like iPad type, capacity, iOS version, serial number and other infor on the main interface of this program.


